Choosing the Right Materials for Your Bulletin Board Letters
Creating eye-catching bulletin board letters starts with selecting the right materials.
The type of paper and adhesive you choose significantly affect the project’s outcome.
Types of Paper to Use
Start with the paper. Cardstock is ideal due to its thickness and sturdiness.
It stands out on a bulletin board and resists curling at the edges.
For a glossy finish, opt for photo paper.
It adds a sheen that catches the eye.
If going for an eco-friendly option, recycled paper works well and adds an earthy touch.
Best Adhesives for Paper Letters
Choosing the right adhesive is just as important as the paper.
Double-sided tape provides a firm hold and a clean look without residue.
For a more durable bond, consider using a glue stick,
which allows for repositioning during the process.
Avoid liquid glues as they may warp or wrinkle the paper.
Durability Considerations
When you invest time in creating bulletin board letters, you want them to last.
Laminate the letters to protect them from fading, moisture, and general wear and tear.
Also, consider the location of your bulletin board.
If exposed to sunlight, select UV-resistant papers to prevent color loss.
By considering these durability aspects, you ensure that your bulletin board remains vivid and appealing for longer periods.
Printable Letter Templates: Finding and Using Them
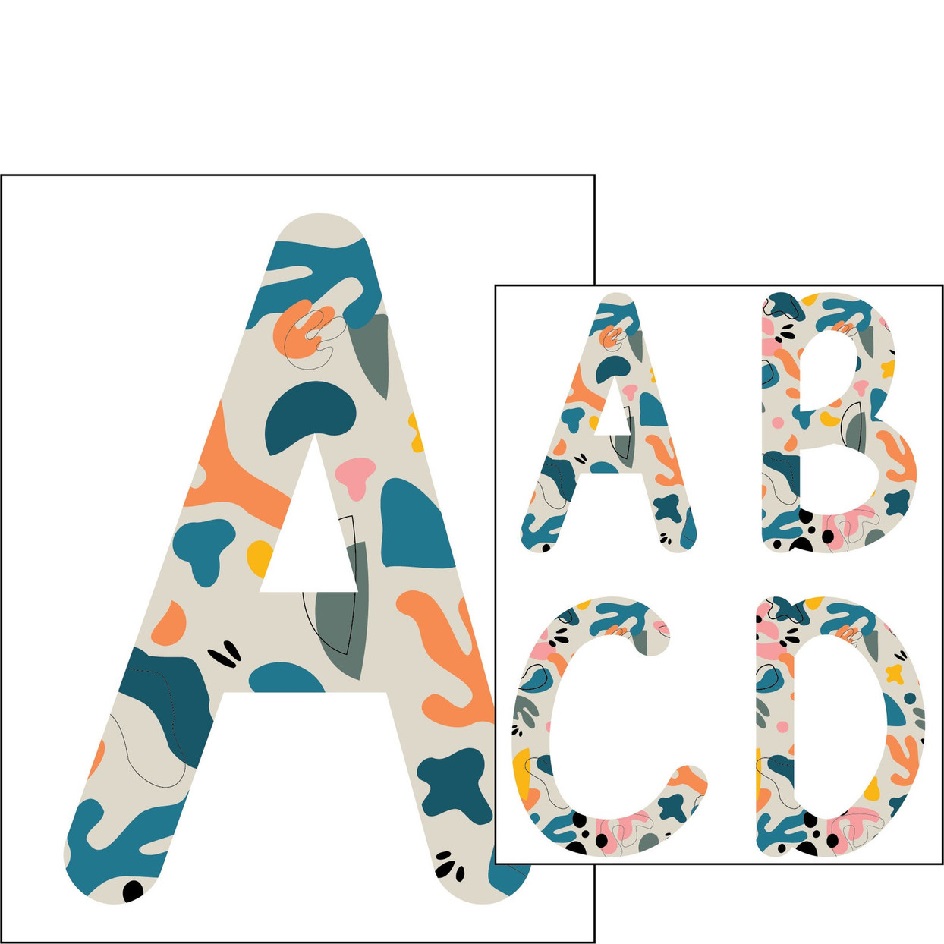
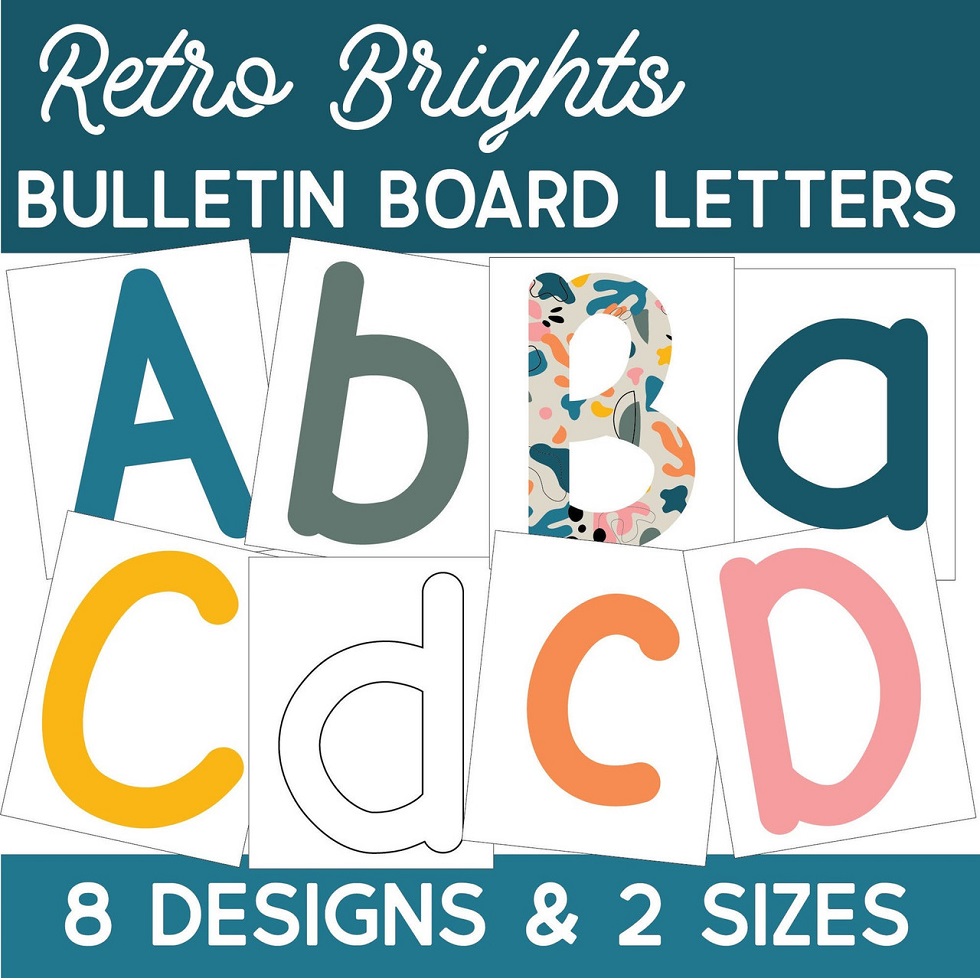
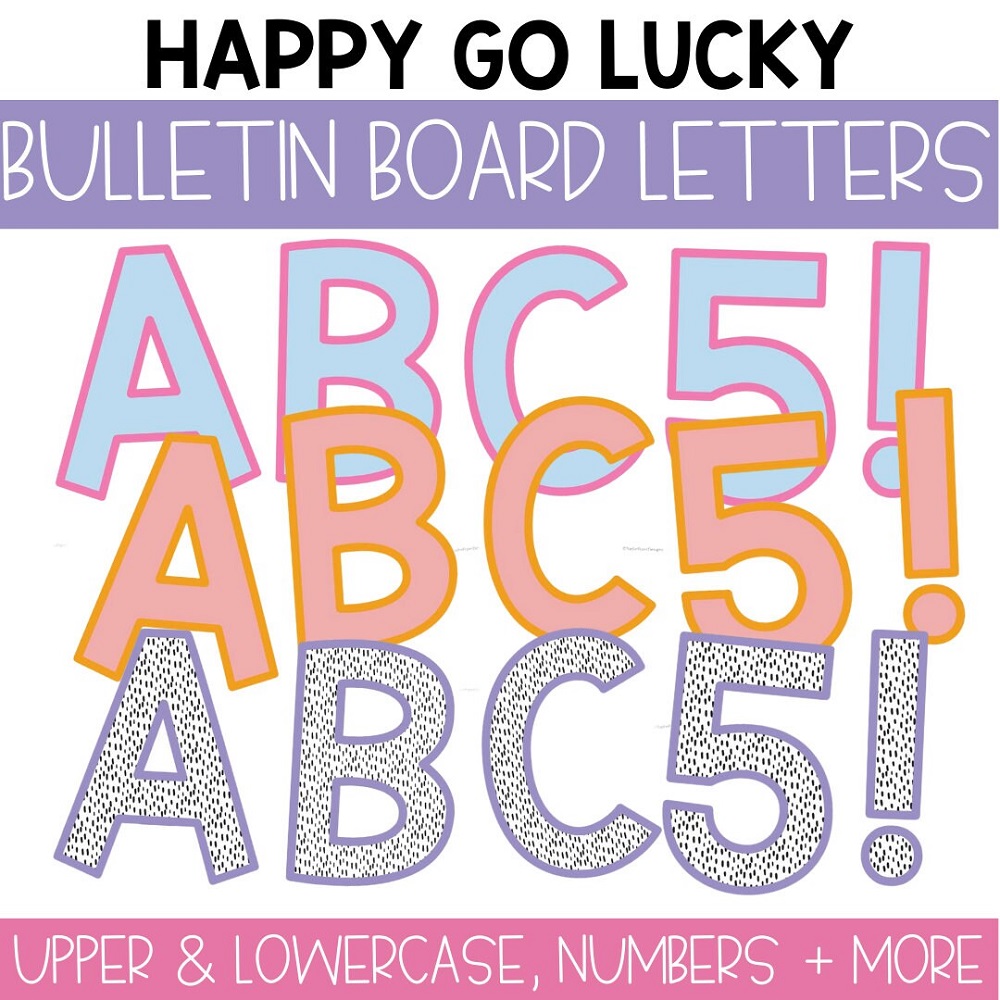
For those looking to create professional and stylish bulletin boards without the hassle of designing every element from scratch, printable letter templates are a godsend.
Where to Find Free Printable Letters
Free printable letters for bulletin boards are widely available online. Websites like Teachers Pay Teachers or Pinterest provide a plethora of options. Always ensure the website is reputable before downloading to avoid malware. Educational websites often feature printable letters suitable for classroom settings.
How to Customize Letter Templates
Customizing letter templates allows for personalized and unique bulletin boards. Use basic editing software like Microsoft Word or Adobe Photoshop to modify the letter size, color, or font to fit your theme. You can add patterns or images to your letters for a custom look that stands out. Remember, customize with your bulletin board’s overall design in mind for a cohesive appearance.
Cutting Techniques for Clean Edges
Achieving clean edges on your printable letters for bulletin board is crucial for a professional look. Clean-cut letters are pleasing to the eye and ensure your message stands out. Below are techniques and tools you can use.
Tools for Precision Cutting
To get the sharpest edges, you need the right tools. A craft knife is essential for intricate cuts; it allows for precision and control. For straight lines, use a ruler and a paper cutter. These provide uniformity and speed up the process. Always cut on a self-healing cutting mat to protect your work surface and maintain blade sharpness. Lastly, consider investing in a die-cut machine for consistent results, especially if you’re creating letters in bulk.
Tips for Cutting Letters by Hand
If you prefer a hands-on approach or lack specialized tools, here are some tips to help you. First, print your template on the chosen paper. Use sharp scissors that fit your hand comfortably. This reduces fatigue and improves accuracy. Slowly follow the template outline, focusing on smooth, continuous cuts rather than chopping motions. For tight corners and angles, make relief cuts. This means snipping into corners and curves to release tension and achieve cleaner cuts. Take breaks if necessary to ensure your hands stay steady for the best results.
Decorating Your Letters for Maximum Impact
Once you have your printable letters for the bulletin board ready, it’s time to make them pop! Decorating your letters is about adding layers of visual interest to grab attention.
Adding Color and Texture
Color transforms plain letters into vibrant statements. Choose colors that complement your board’s theme. For textures, consider using colored pencils for a matte look or markers for a bold, shiny finish. Wrapping letters in yarn or fabric gives a tactile feel. Glitter glue or puffy paint adds dimension while boosting the fun factor.
To apply color uniformly, use stencils or masks to cover areas you want to keep clean. Brush or spray paint can be effective for quick coverage. Remember, lighter colors may need several layers to achieve the desired opacity.
For texture, think beyond the visual. Incorporate materials like felt, burlap, or even embossing with heat tools. Textures create shadows and depth, making your letters stand out. Mix and match different materials to find the perfect combination for your bulletin board.
Techniques for Creating 3D Lettering Effects
Adding depth to your letters makes them jump off the board. To create a 3D effect, use foam spacers or double-sided tape to give letters a raised profile. Layering cutouts of the same letter also achieves a 3D look.
Cut thin strips of paper or use ribbon to create a border around the letters. Folding or curving parts of the letters forward creates a dynamic shadow effect. Play with light and shadow by positioning your letters at various angles to see how they look at different times of the day.
Experiment with these decorating techniques to ensure your bulletin board captures attention and delivers your message with flair. Keeping sentences short and actions clear will help you follow these tips with ease.
Attaching Letters to the Bulletin Board
Once your printable letters for the bulletin board are cut and decorated, the next step is attaching them. Proper attachment ensures your letters stay in place and maintain their visual impact over time.
Arranging for Visual Appeal
The arrangement of letters on your bulletin board matters. Place letters at even intervals for a balanced look. Test out different layouts before attaching. For a dynamic design, stagger letters at varying heights. Align letters along a curve or wave for motion. Consistency in spacing is key. Keep a ruler handy to ensure equal distances.
Securing Letters for Longevity
Securing letters well means they won’t fall or shift. Use thumbtacks or push pins for easy application. For a cleaner look, try removable adhesive putty or mounting tape. These methods prevent damage to walls. They also allow easy repositioning if needed. For heavy or 3D letters, consider stronger options like hook-and-loop fasteners. Always press firmly for a secure bond. Check letters periodically to make sure they remain in place.
Ideas for Themed Bulletin Boards
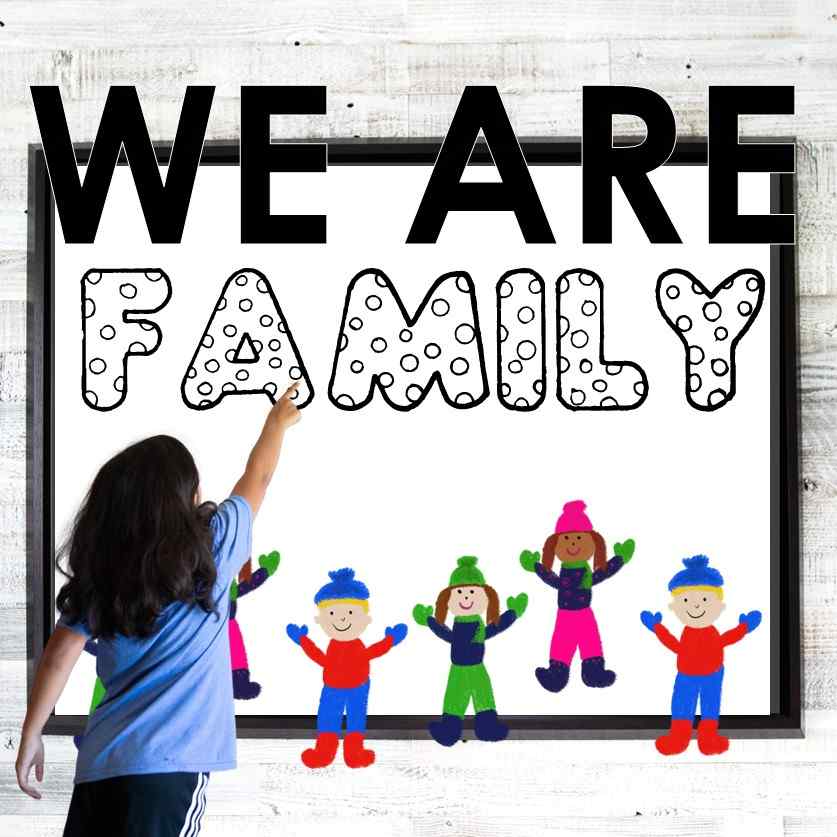
Designing themed bulletin boards can add a vibrant and engaging element to any room. Incorporating themes allows for the circulation of new ideas, and they can also communicate important messages in an educational or workplace setting. Utilize your printable letters for the bulletin board to create these inspiring displays.
Seasonal Bulletin Board Inspirations
Seasonal themes are a hit. They celebrate the passage of time and can tie in with current events or holidays. For example:
- Spring: Use pastel-colored printable letters and images of flowers or rain showers.
- Summer: Opt for bright letters and adorn the board with suns, beaches, or picnics.
- Autumn: Introduce fall hues with leaf-patterned letters and harvest-themed accents.
- Winter: Bring in the chill with ice-blue letters, snowflakes, and cozy winter scene cutouts.
Use thematic decor sparingly to avoid clutter, and always align decorations with your color and texture choices for a cohesive look.
Educational Themes for Classroom Boards
In classroom settings, bulletin boards can become powerful tools for reinforcement and learning.
- Alphabet or Number Board: For younger students, creating a board with large, vivid printable letters or numbers aids recognition and memorization.
- History Timeline: Use different colored letters for different eras and add images that depict historical events or figures.
- Science Concepts: Illustrate complex science topics with relevant images and short, explanatory text using bulletin board letters.
- Literature Themes: Create a board that highlights themes or important quotes from books being studied in class.
Remember to arrange your bulletin board letters neatly, with attention to their size, alignment, and readability. Alongside practicality, strive for boards that spark interest and invite participation. By doing so, you can create an interactive and educational environment that benefits all who see it.
Maintenance and Updating Bulletin Board Letters
Keeping your bulletin board fresh and engaging is important. Regular maintenance and updates are key to this. Over time, your printable letters for the bulletin board may start to show wear.
When to Replace Letters
Look for signs of fading, peeling, or damage. Replace letters if they no longer match your board’s theme or if there’s an upcoming event or season change. Swapping out letters keeps your bulletin board relevant and attention-grabbing.
Keep an eye on letters after events where they’re likely to get touched, like open houses. If you notice corners lifting or colors dulling, it’s time for new letters. Use this opportunity to refresh your board with new fonts or colors.
Storage Tips for Reusable Letters
If your letters are still in good shape, store them for future use. Lay them flat in a storage container with a tight-fitting lid. Place sheets of parchment paper between the letters to avoid sticking. Store the container in a cool, dry place to prevent damage from heat or moisture.
Organize letters by size, color, or theme for quick access when needed. Label your containers for ease in finding what you’re looking for. Taking care of these elements ensures a long life for your bulletin board letters.


