Rubber bands, the ubiquitous and versatile office supply, have found their way into the world of crafts and creative endeavors. Though often overlooked, these simple bands can be transformed into fun and engaging projects suitable for all ages. Whether you’re a seasoned crafter or a beginner, rubber bands offer endless opportunities for creativity. In this article, we will explore a variety of rubber band craft ideas, complete with step-by-step instructions and tips to help you unleash your artistic potential.
Understanding the Versatility of Rubber Bands
Before diving into specific projects, it’s essential to recognize the unique qualities that make rubber bands an ideal crafting material. Rubber bands come in various sizes, colors, and elasticity levels, providing crafters with a diverse range of options to work with. Their stretchability makes them perfect for a wide array of projects, allowing for flexibility in design and function.
Additionally, rubber bands are easily accessible and affordable, making them an ideal choice for crafting enthusiasts on a budget. They can be used in both small-scale home projects and larger creations, making them suitable for kids’ crafts as well as adult DIY endeavors. Their simple yet effective nature encourages creativity and experimentation, with endless possibilities limited only by one’s imagination.
Whether you’re looking to create decorative items, practical tools, or innovative toys, rubber bands can serve as a foundational material. With their ability to bind, hold, and shape other materials, they are perfect for enhancing various crafting techniques. Now, let’s explore some creative rubber band craft ideas that everyone can enjoy!
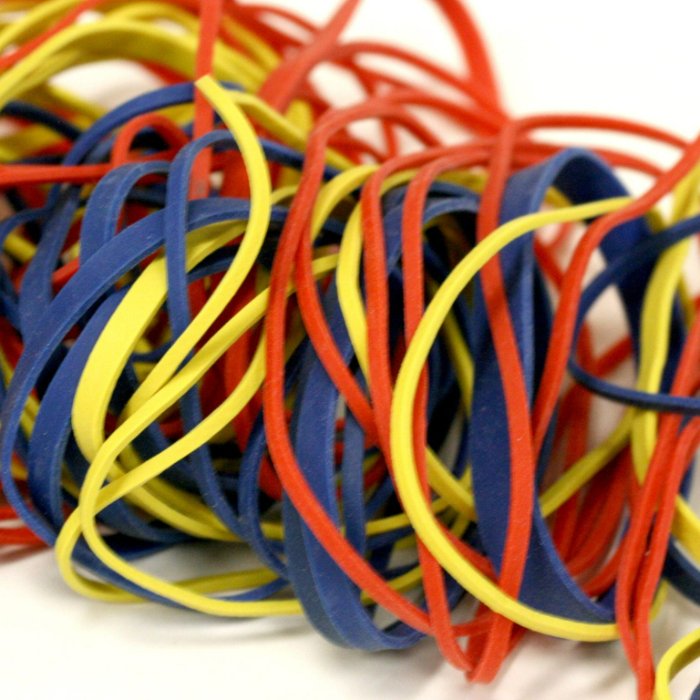
Fun Rubber Band Art: Colorful Bracelet Making
One of the most popular rubber band crafts among kids and adults alike is bracelet making. Colorful rubber band bracelets are not only fun to create but also make excellent gifts for friends or even fashion accessories for yourself. To get started, you will need rubber bands, a loom or a simple fork, and a clip to secure the bracelet.
Step-by-Step Guide to Making a Rubber Band Bracelet
Gather Your Materials: Collect your rubber bands in various colors, a loom or fork, and a C-clip to fasten the bracelet.
Select Your Design: There are many patterns to choose from, ranging from simple single-strand designs to intricate fishtail or starburst patterns. For beginners, starting with a basic single-row chain is recommended.
Starting the Bracelet: If using a loom, place one rubber band on the first peg. If using a fork, stretch the band around the fork’s tines. Continue adding bands, layering them to form the desired pattern.
Finish the Bracelet: Once you have achieved your desired length, use the C-clip to secure the end of the bracelet. For a fork method, carefully remove the bands from the fork and secure the end with the clip.
Wear and Share: Your colorful creation is now ready to wear! Share your newly made rubber band bracelets with friends or customize them based on their favorite colors.
This project not only enhances fine motor skills but also encourages children to explore color combinations and design patterns. Making rubber band bracelets can lead to hours of fun and creativity while fostering a sense of achievement.
Creating Educational Tools: Rubber Band Math Games
Rubber bands can play a pivotal role in educational crafts, particularly for helping children understand mathematical concepts. One creative idea is to create rubber band math games. These games can reinforce skills such as counting, addition, subtraction, and even geometry in an engaging way.
Crafting a Rubber Band Math Board Game
Materials Needed: Gather rubber bands, a cardboard base, markers, and small objects (like buttons or coins) for game tokens.
Designing the Board: Use the cardboard base to create a game board layout. Mark distinct paths or numbered squares for players to move along.
Setting Up Tasks: In each square or space, assign a math problem that players must solve before they can advance. For instance, squares may require players to add the numbers represented by rubber bands or answer simple subtraction questions.
Playing the Game: Players take turns drawing rubber bands to determine how many spaces they can move on the board. They must correctly answer the math problems to advance, making the learning process interactive and fun.
Celebrate Success: Upon reaching the end of the game path, players can receive small rewards or recognition for their math skills.
This craft not only fosters creativity but also promotes learning through play. Parents and educators can easily customize the math problems to fit the children’s learning levels, making it an adaptable tool for various age groups.
Decorative Home Accessories: Rubber Band Coasters
Transforming rubber bands into decorative home accessories is an excellent way to merge functionality with creativity. One such project is creating rubber band coasters. These coasters can brighten up your living space and serve as practical items to protect your surfaces.
How to Make Rubber Band Coasters
Gather Your Supplies: Collect a selection of rubber bands in different colors, a circular object to use as a template, and a pair of scissors.
Create the Base: Use the circular object to trace a template onto a piece of cardboard. This will serve as the foundation for the coaster.
Layering with Rubber Bands: Start attaching rubber bands to the cardboard template, stretching them around the edges. Overlap bands to create interesting patterns and textures.
Finishing Touches: Once you have covered the entire surface of the cardboard with rubber bands, trim any excess edges to create a neat finish. You can also secure the rubber bands in place using hot glue for added stability.
Enjoy Your Creation: Your colorful and functional rubber band coasters are now ready to use!
These coasters not only add a pop of color to your home but also demonstrate an eco-friendly approach to crafting by repurposing everyday materials. This project is perfect for both adults looking to personalize their living spaces and children exploring their artistic sides.
Fun Toys and Games: Rubber Band Ball
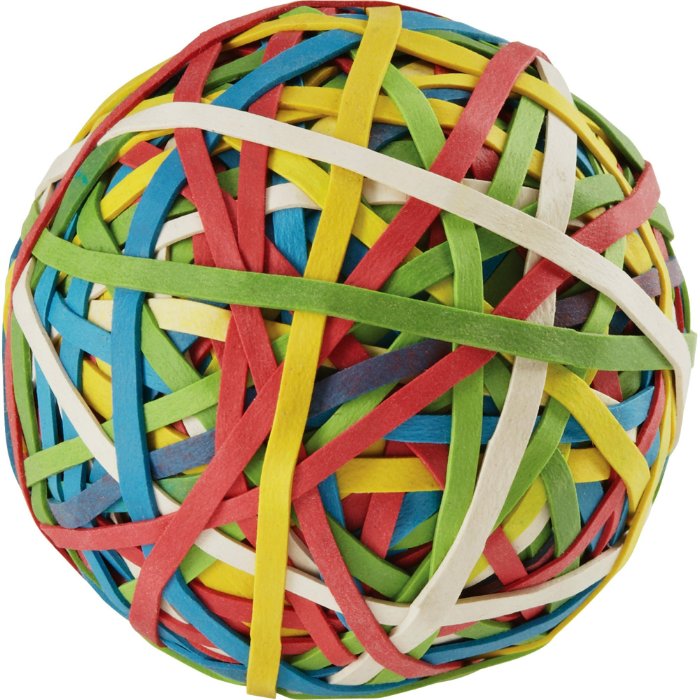
Creating a rubber band ball is not only a fun craft but also a great activity for developing hand-eye coordination and fine motor skills. This classic project can engage individuals of all ages while providing endless entertainment.
Steps to Create a Rubber Band Ball
Collect Rubber Bands: Gather a large number of rubber bands in varying sizes and colors.
Start with a Core: Take a single rubber band and wrap it around itself to form a small core. This will be the foundation of your ball.
Adding Layers: Gradually build up the ball by wrapping additional rubber bands around the core. Vary the colors and sizes to create a visually appealing design.
Maintaining Balance: As the ball grows, ensure that rubber bands are evenly distributed around the core, maintaining a round shape.
Enjoy Your Creation: Once you have reached the desired size, your rubber band ball is ready for play! Bounce it, toss it, or use it as an original stress ball, offering hours of amusement.
Making a rubber band ball fosters patience and dexterity, serving as a hands-on demonstration of how simple materials can yield satisfying outcomes. It’s an excellent project for families to do together, fostering collaboration and creativity.
Rubber Band Wall Art: Get Creative with Patterns
Another innovative rubber band craft is creating wall art. This unique art project combines creativity with visual design, providing a beautiful addition to any room decor while offering a simple crafting experience.
Crafting Rubber Band Wall Art
Materials Required: You will need a canvas board, multiple rubber bands in various colors, and a painting or drawing tool (like a pencil).
Designing Your Layout: Use the pencil to sketch out a design on the canvas board. This can be anything from geometric shapes to abstract art.
Applying Rubber Bands: Stretch rubber bands over the canvas to fill in areas of your design. Layer different colors to create depth and texture.
Experimenting with Patterns: As you apply the bands, experiment with various tension levels for different effects. Tight bands can create defined lines, while looser bands add dimensionality to the artwork.
Final Touches: Once you’re satisfied with the design, step back to evaluate the overall effect. Consider adding paint or embellishments (like beads or glitter) to enhance the finished piece.
This wall art project allows you to express your creativity and personalize your home. It’s also an ideal way to involve kids in the crafting process, teaching them about design principles while encouraging artistic expression.
Teaching Teamwork: Group Rubber Band Projects
Rubber band crafts can also be effectively used to encourage teamwork and collaboration among groups, whether in schools, community centers, or family gatherings. Group projects involving rubber bands promote communication skills and shared creativity.
Designing a Collaborative Rubber Band Sculpture
Gather Participants: Assemble a group of individuals interested in crafting together. Ensure a diverse range of ages to promote inclusive collaboration.
Materials Distribution: Provide each participant with a variety of rubber bands. Encourage them to bring additional materials they want to incorporate.
Brainstorming Session: Together, brainstorm ideas for a large-scale sculpture or structure made entirely of rubber bands. Designate roles to each participant based on their strengths and interests.
Building the Sculpture: Start constructing the sculpture by connecting rubber bands in imaginative ways. Encourage participants to listen to each other’s ideas and collaborate effectively as they work together.
Showcase the Finished Piece: Once completed, display the rubber band (Japanese: ゴムバンド) sculpture proudly, showcasing the teamwork and creativity that went into the project.
This collaborative approach fosters a sense of community while reinforcing problem-solving and communication skills. It also highlights the importance of teamwork in the crafting process, making it an enriching experience for everyone involved.
Conclusion: Embracing Creativity with Rubber Bands
Rubber bands are more than just an office supply; they are a versatile crafting material that can inspire countless creative projects. From making colorful bracelets and educational games to decorative home accessories and collaborative sculptures, the potential for creativity is boundless.
By engaging in rubber band crafts, individuals can develop fine motor skills, boost their problem-solving abilities, and foster a sense of accomplishment. These projects provide an opportunity for families, friends, and communities to come together, share ideas, and create unique pieces of art.