Overview of Creating a Bulletin Board
Creating a homemade bulletin board can revitalize your space. It serves multiple functions, from showcasing your favorite family photos to organizing important documents and kids’ artwork. Making your own can also fit your decor, unlike many store-bought options. This comprehensive guide will walk you through crafting a bulletin board that not only looks fantastic but also keeps your space clean and organized.
The process involves gathering materials and tools, measuring the space, selecting a fabric that enhances your room’s aesthetics, and finally, assembling it with simple step-by-step instructions. Moreover, you can personalize your bulletin board to reflect your style by adding unique decorative elements. Lastly, we will cover some maintenance tips to ensure your bulletin board looks great for years to come. Let’s dive into the satisfying project of creating a bulletin board that speaks to your needs and personality.
Essential Materials and Tools
Before starting your DIY bulletin board project, it’s crucial to gather all necessary materials and tools. This will make the process smoother and more efficient. Here’s a basic list to get you started:
- Foam Insulation Board or Cardboard: Choose a lightweight and sizable option to fit your desired space.
- Fabric: Select a piece that complements your room’s decor. Make sure it’s large enough to cover your board with extra for wrapping around the edges.
- Cutting Tool: A sharp box cutter or scissors will be needed to trim the board and fabric.
- Tape: Clear packing tape or duct tape is essential for securing the fabric to the board.
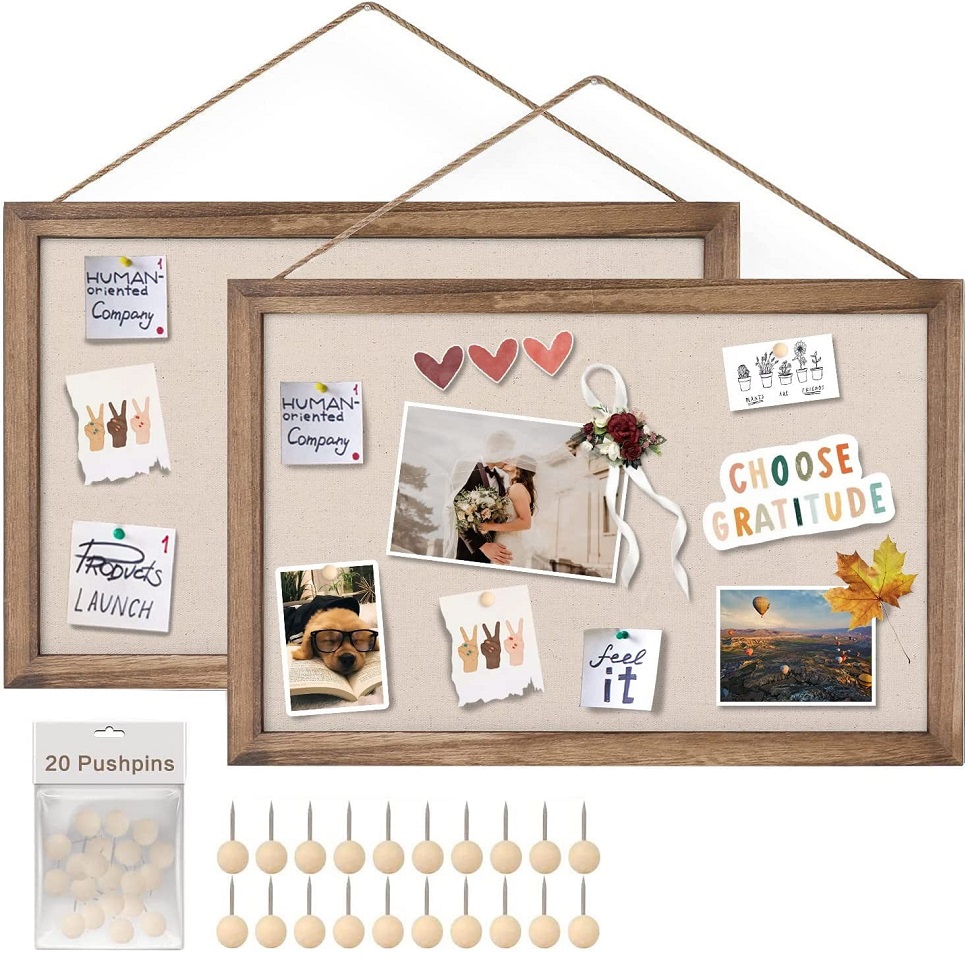
- Thumbtacks or Pushpins: These are for attaching items to the board and, if desired, creating a decorative border.
- Adhesive: Hot glue or another sturdy adhesive can be used for reinforcing hanging mechanisms or adding embellishments.
- Ruler or Measuring Tape: Accuracy is key when measuring the board to fit your space.
- Screws or Nails: Depending on your wall and preference, these may be needed to hang the board.
- Level: To ensure your bulletin board hangs straight.
- Iron: An iron is useful for removing wrinkles from your fabric for a crisp, clean look.
These are the essentials, but feel free to add any additional tools or materials that might aid in customization or installation.
Selecting the Right Size and Location
Choosing the right size and location for your bulletin board is a key step. Consider the amount of wall space available and what you intend to display. A larger board might be necessary for a family command center in the dining room or a creative zone for kids’ art. Meanwhile, a smaller bulletin board could suffice for personal reminders in a home office.
Look at your wall space and visualize where the bulletin board will go. It should be accessible, at eye level, and in a spot that does not interfere with room traffic. Avoid places with high moisture like bathrooms or above kitchen sinks that could damage the board.
Measure the wall area where you want to place the bulletin board. Leave a few extra inches around the edges for a clean look and space for any frame or trim you might add. Use a level to ensure the marked area is even. This will help with accuracy and prevent any uneven hanging.
When you select the location, think about lighting too. A spot that gets indirect natural light will highlight your display without causing a glare. Good lighting can also prevent straining your eyes when pinning items or reading notes.
Finally, consider the board’s purpose. If it’s for the family, a common area like a hallway or kitchen might be best. For personal use, your study or bedroom could be more appropriate. Make sure the chosen spot reflects the intention and utility of the bulletin board.
Choosing the Perfect Fabric and Design
When selecting fabric for your bulletin board, consider both function and style. The fabric should complement your room’s color scheme and decor. Think about the textures and patterns that appeal to you and how they match the existing elements in your space.
Here are a few tips to choose the perfect fabric:
- Color: Opt for a color that harmonizes with your room but also provides enough contrast for the items you’ll pin.
- Pattern: If you’re using the bulletin board to display colorful items, a subtle pattern or solid color could be best.
- Texture: Textured fabrics can add depth but avoid anything too rough that might snag papers.
The design of the bulletin board also plays a crucial role. You want it to be visually appealing and functional:
- Frame: Adding a frame can make the bulletin board look more finished and can be painted to match your room.
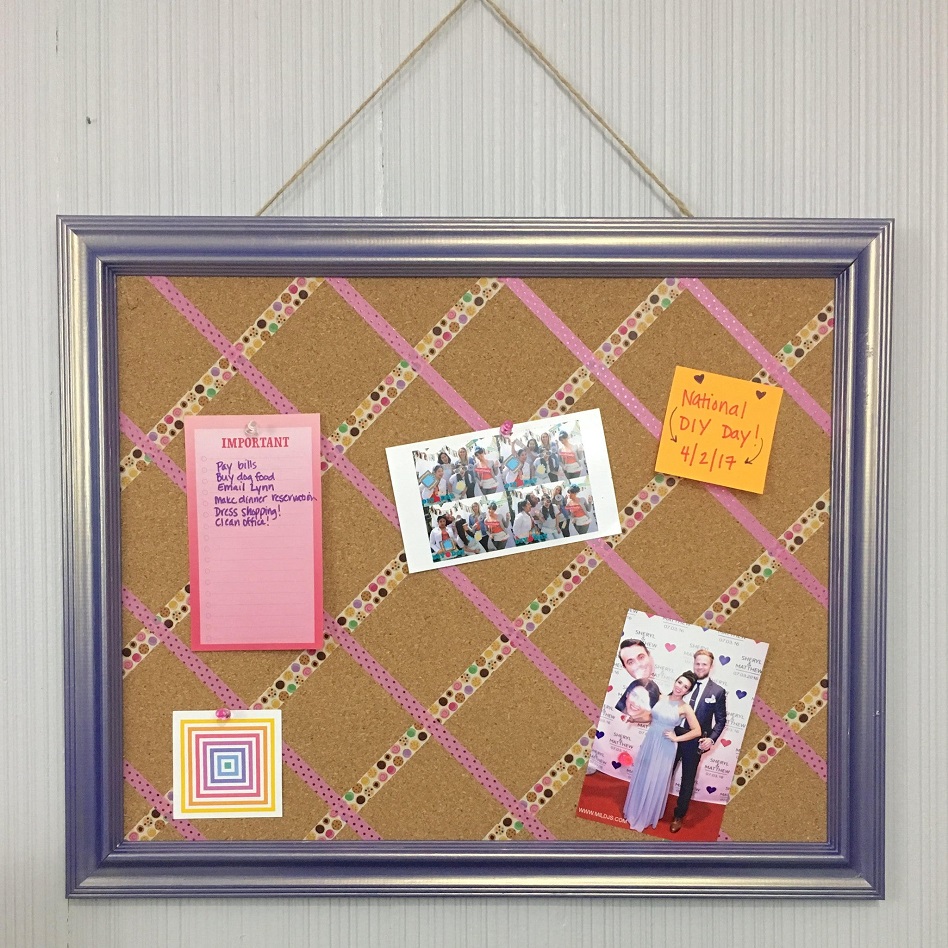
- Trim: Using ribbon or painted thumbtacks around the edges adds a personalized touch and defines the board’s boundaries.
Remember, the fabric and design should inspire creativity and productivity. It’s worth taking the time to find the right fabric and design that fit both your aesthetic preferences and practical needs.
Step-by-Step Assembly Instructions
Creating your DIY bulletin board is straightforward with these simple steps. Here’s how to assemble it:
- Prepare the Board and Fabric: Lay the foam insulation board on a flat surface. Iron your chosen fabric to remove any creases.
- Cut to Size: Using a ruler or measuring tape, measure the board and cut it to your desired dimensions. Do the same with the fabric, leaving a few extra inches on each side for wrapping.
- Attach the Fabric: Place the fabric face down, center the board on top, and neatly wrap the fabric over the edges of the board. Secure it with clear packing tape or duct tape on the back.
- Add a Border: For a decorative touch, use thumbtacks to create a border along the edges of the board.
- Reinforce Corners: If needed, add extra tape or adhesive to the back corners to prevent the fabric from sagging or coming loose.
By following these step-by-step instructions, you’ll have a stylish and functional bulletin board ready for hanging in no time. Remember, accuracy in measuring and cutting will result in a more professional-looking board. Feel free to personalize it further with additional decorative elements that reflect your style.
Installing the Bulletin Board in Your Space
Once you have your bulletin board assembled, it’s time to mount it in its designated spot. Here are simple steps to ensure it’s properly installed:
- Positioning: Hold the bulletin board against the wall in the preferred location. Use a level to make sure it’s straight.
- Marking: Lightly mark the corners of the board on the wall with a pencil, denoting where it will go.
- Securing: If your board is light, like cardboard-based ones, you might use adhesive strips that don’t damage walls. For heavier boards, use screws or wall anchors to secure it. Measure and drill holes where marked.
- Hang with Care: Align the board with the pencil marks or holes and fix it to the wall. Make sure it’s secure and level.
- Final Touches: Step back and check for any adjustments. Add the items you wish to display on the bulletin board.
This completes the practical portion of your bulletin board project. Now, it’s ready for the final, personal touches. With your board neatly installed, you’ll have a central spot to organize items and showcase personal mementos. Use it wisely and watch how it transforms your space. Remember to periodically check that the board is secure and well-maintained for lasting use.
Personalizing Your Bulletin Board with Decorative Elements
After putting together your bulletin board, the next thrilling step is to add personal touches. This is where you can let your creativity flow and really make the board your own. Here’s how you can personalize your bulletin board to reflect your unique style and needs:
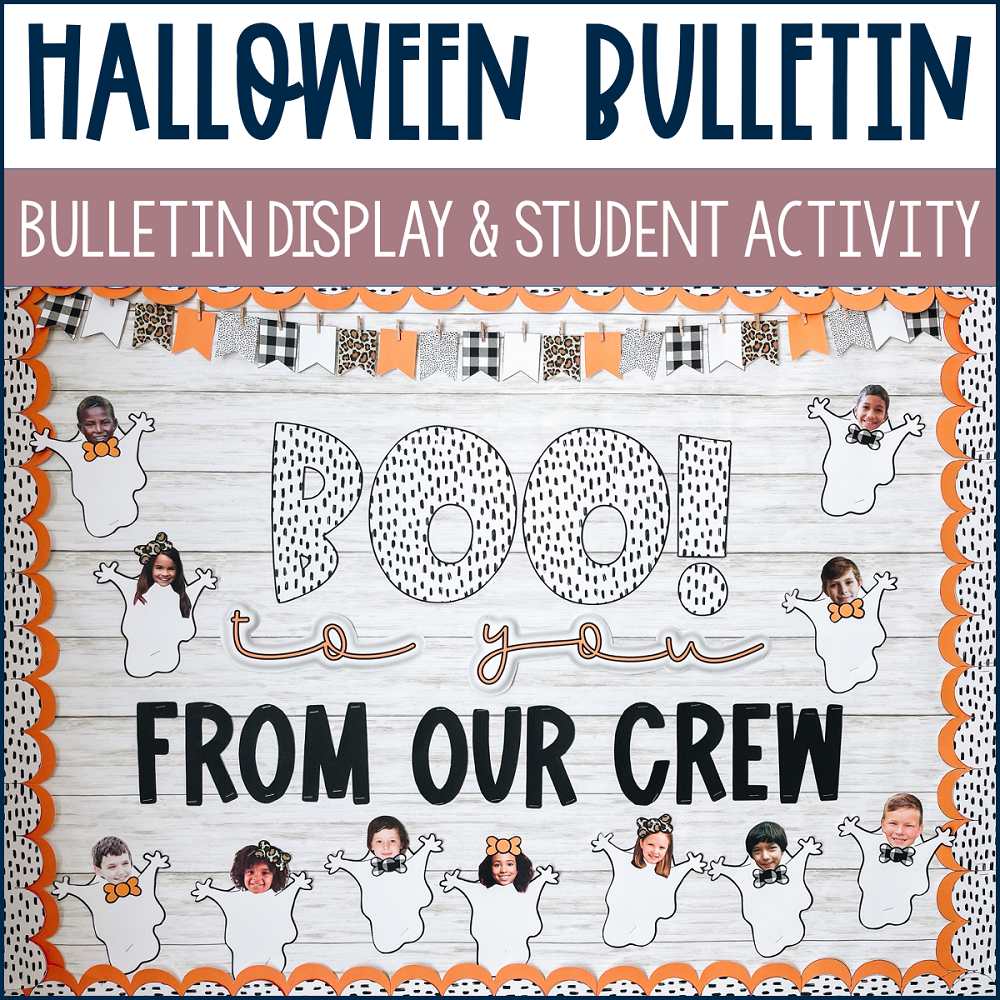
- Theme: Decide on a theme that matches your room or serves your purpose. For example, a travel theme with maps and postcards, or a family theme with photos and drawings.
- Layout: Plan the layout for items you’ll pin up. Space them out evenly, or group them by type. Keep it neat for a clear view at a glance.
- Decorative Pins: Use colorful pushpins or custom thumbtacks that go with your theme. These small details can add a lot of character.
- Headers and Labels: Create headings or labels for different sections. This helps organize and can be done with handwritten notes or printed tags.
- Seasonal Updates: Change up the display with the seasons. Swap out photos, add holiday cards, or feature seasonal crafts. It keeps the board fresh and fun.
By incorporating these elements, your bulletin board becomes more than just a functional item; it’s a centerpiece that tells your story. Not only does it help keep important papers and beloved memories in sight, but it also adds a warm, personalized touch to your space. Get creative and enjoy the process of making your bulletin board truly one of a kind.
Maintenance Tips for Your Homemade Bulletin Board
After investing time and effort into making your bulletin board, you’ll want to keep it in the best condition. Here are some maintenance tips to ensure your board remains a useful and beautiful part of your space:
- Regular Cleaning: Gently wipe the surface with a dry or slightly damp cloth to remove dust. If using a damp cloth, make sure to dry the surface completely.
- Fabric Care: If the fabric gets stained, spot clean carefully with mild soap and water. Test the cleaning solution on a small, inconspicuous area first.
- Tack and Pin Management: Remove and replace tacks and pins cautiously to avoid unnecessary holes and wear on the fabric.
- Seasonal Refresh: Change out displayed items periodically, which prevents them from fading and gives your board a fresh look.
- Inspect Attachments: Periodically check if any thumbtacks or decorative elements have come loose and secure them back in place.
- Avoid Overloading: Don’t overfill your board; too many items can look cluttered and put extra stress on the board and its mounting.
By following these simple tips, you can help prolong the life of your bulletin board and keep it as an organizing and decorating gem within your home.